


Email ID:
Ysstore.in@gmail.com
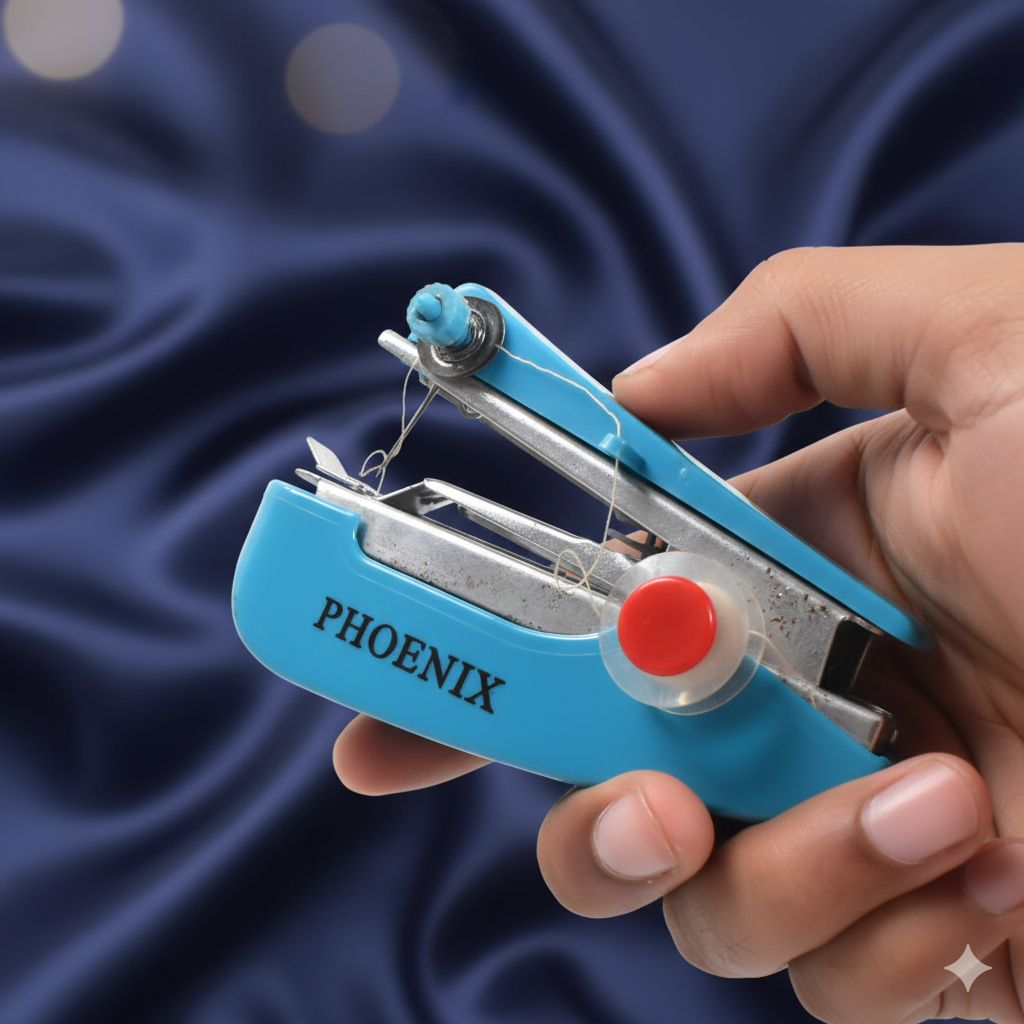
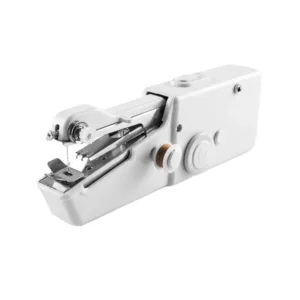
Quick Portable Mini Sewing Stapler | Cloth & Garment Fix
Share:
₹499.00 Original price was: ₹499.00.₹299.00Current price is: ₹299.00.
Get the Mini Portable Sewing Stapler for quick, on-the-go fabric and cloth repairs! Handy, machine-free solution for garments and crafts.
🔥 Buy More Save More!
Buy 3 items get 5% OFF
on each productBuy 6 items get 10% OFF
on each productBuy 10 items get 15% OFF
on each product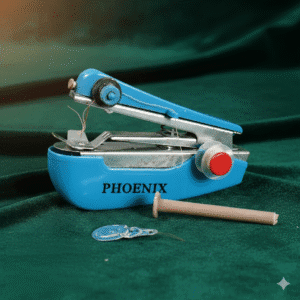 Quick Portable Mini Sewing Sta...
₹499.00 Original price was: ₹499.00.₹299.00Current price is: ₹299.00.
99 in stock
Email ID:
Ysstore.in@gmail.com
The Ultimate Guide to the Handy Portable Mini Sewing Stapler Machine for Garment & Cloth
Thank you for reading this post, don't forget to subscribe!
Forget bulky sewing machines, complicated threading, and the sheer frustration of trying to fix a hem by hand. Introducing the Handy Portable Mini Sewing Stapler Machine—the quick, simple, and essential tool every home, traveler, and crafter needs. It’s not a replacement for a professional sewing machine, but it’s the instant fix you’ve been waiting for. This little gadget is the fastest way to handle clothing emergencies and minor fabric repairs, making you a superhero of quick mending!
Part 1: The Revolution of Quick Stitching
What Exactly is a Mini Sewing Stapler?
Imagine the convenience of a staple gun, but instead of metal pins, it uses thread to create a strong, temporary stitch. That’s the core idea behind this ingenious tool. It’s a handheld, battery-powered (or manual, depending on the model) device designed to deliver a single-thread, lock-stitch chain quickly and easily.
It’s small enough to fit in your palm, making it completely portable and lightweight. Its design mimics a standard office stapler, which is why we call it the “Stapler Machine”—you simply press down, and the machine does the stitching for you. It removes the two biggest headaches of traditional sewing: setting up the large machine and tedious hand-stitching.
The “Why Now” Factor: Why Do You Need One?
In our fast-paced world, clothes get damaged at the worst possible times. A seam rips just before a meeting, a curtain needs a quick hem adjustment before guests arrive, or a child’s favorite toy splits open. You don’t have time to drag out a full-size machine or spend 30 minutes with a needle and thread.
This Mini Sewing Stapler is the perfect solution for those moments. It’s built for speed, convenience, and emergency repairs. It’s the difference between wearing a damaged outfit or quickly fixing it and looking your best. It’s the ultimate tool for on-the-spot mending wherever you are.
Part 2: Who is This Product For?
This is not a specialist tool; it’s a universal problem-solver. Here are the people who will find this device an absolute must-have:
1. The Traveler & Business Professional
Problem: You’re on a business trip, your suit trousers get snagged, or a dress hem falls out five minutes before a presentation.
Solution: Since the Mini Sewing Stapler fits in any suitcase or overnight bag, you can make an invisible repair in the hotel room in under two minutes. No more frantic searches for a tailor!
2. The Student & Dorm Dweller
Problem: Living in a small space means a full-sized sewing machine is out of the question. You still need to fix backpack straps or ripped jeans.
Solution: It takes up virtually zero space. It’s quiet, runs on batteries (often), and is simple enough for anyone with zero sewing experience to use right out of the box.
3. The Parent & Grandparent
Problem: Kids are tough on clothes! A hem comes undone on a school uniform, or a costume needs a quick modification for a play.
Solution: It’s your secret weapon for rapid wardrobe maintenance. You can mend clothes while the garment is still being worn (carefully, of course, for simple hems) or while hanging, without having to take it off the hanger.
4. The DIY Enthusiast & Crafter (For Small Projects)
Problem: You need a quick seam for a doll’s clothing, a fabric patch on a quilt, or a temporary hold before machine stitching.
Solution: It’s ideal for small, delicate, and fast-turnaround projects. It works as a helpful ‘basting’ tool to hold layers of fabric together before you do the final stitch.
5. The Complete Sewing Beginner
Problem: You’re interested in learning to sew but are intimidated by large, expensive machines and complicated bobbins.
Solution: This handheld device offers a simple, low-pressure introduction to stitching. It’s a great stepping stone to building confidence before investing in a full setup.
Part 3: Key Features & Benefits
The true value of this tool lies in its specific design advantages:
✅ Ultra-Portable & Compact Design
The single most important feature. It is built to be a fraction of the size and weight of even the smallest desktop machine. You can store it in a drawer, a glove compartment, or a desk organizer. Its stapler-style operation means you can easily use it with one hand.
✅ No Bobbin Required – Simple Single-Thread Stitch
Traditional machines require threading the top spool and winding a bobbin for the bottom thread—a process that is often the biggest hurdle for beginners. Our Mini Sewing Stapler uses a simple single-thread chain stitch. This means faster setup and one less thing to worry about. Note: You will need to tie a knot at the end of the stitch to lock it, as the chain stitch can easily unravel if not secured.
✅ Instant, On-the-Spot Repairs
Because it’s handheld, you don’t need to take the fabric off the wall, table, or even the person.
Hemming Curtains: Fix a fallen curtain hem while the curtain is still hanging.
Drapery: Quickly mend rips in decorative drapes or bed skirts.
Patches: Fasten a patch onto a backpack or jacket without removing it.
✅ Versatile Fabric Compatibility (For Light to Medium Fabrics)
While it won’t handle heavy leather or multi-layered denim, it is perfect for the vast majority of your everyday clothing and home decor needs:
Cotton and Silk: Ideal for light garments like shirts, blouses, and silk scarves.
Denim and Wool: Excellent for light mending on jeans, provided you are only stitching through one or two layers (e.g., a small tear).
Hems: Perfect for quick hemming of trousers, dresses, and skirts.
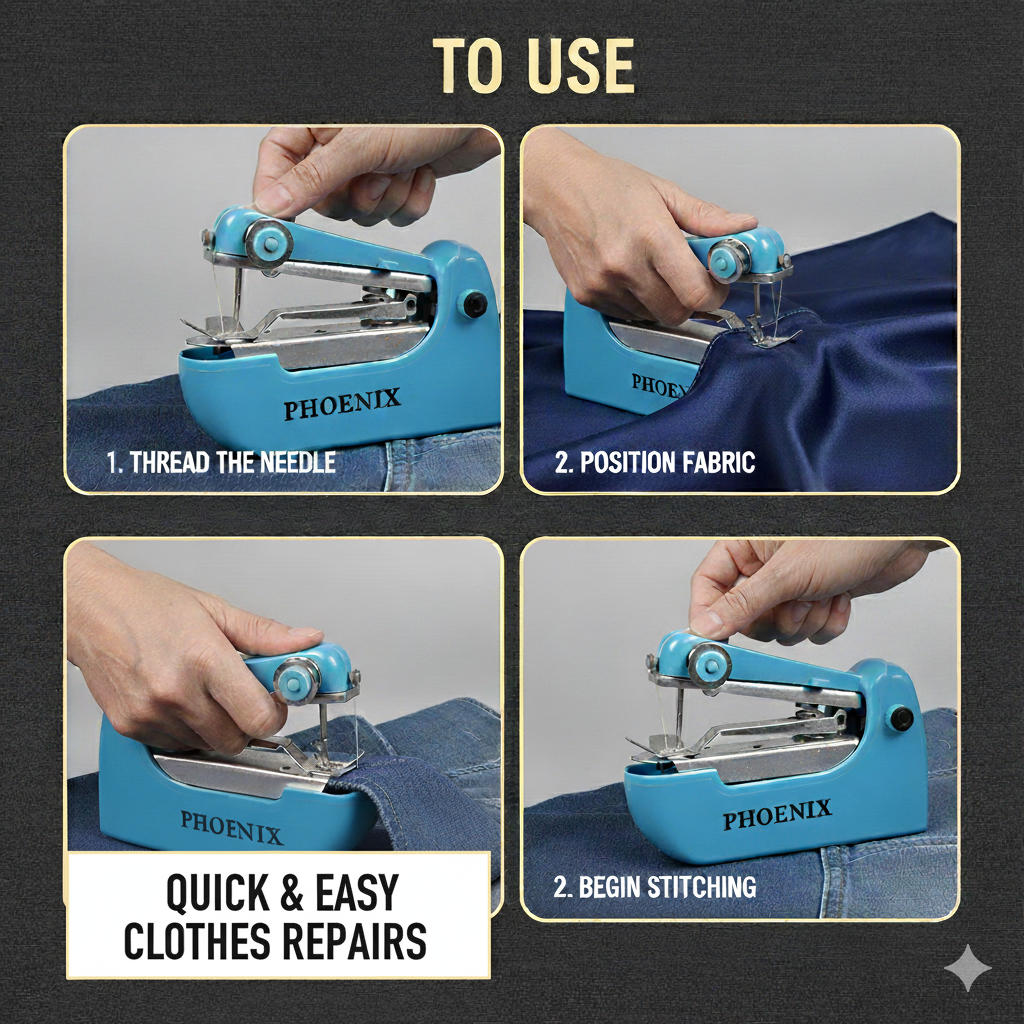
Part 4: Simple, Step-by-Step Guide: How to Use It
You don’t need an engineering degree to operate this machine. It’s designed for instant use.
Step 1: Power Up
Insert the required batteries (usually 4×AA or similar—check your product manual for specifics) or plug it into the power adapter if your model is electric.
Step 2: Simple Threading
The machine comes pre-threaded with the initial spool. To change the thread:
Place the new spool onto the spindle.
Pass the thread through the designated guides (usually two or three simple loops).
Thread the needle. Hint: Use a needle threader if one is provided—it makes the job instantly easier.
Step 3: Positioning the Fabric
Place the fabric you want to sew flat beneath the clamping plate or presser foot.
Ensure the fabric layers are properly aligned where you want the stitch to start.
Step 4: Start Stitching!
Gently press the stapler-like trigger or power button.
The machine will automatically move the needle up and down, pulling the thread through the fabric to create the chain stitch.
Slowly and steadily glide the machine across the fabric along the line you wish to sew.
Step 5: Securing the Stitch (Crucial!)
Since this device creates a chain stitch (a loop on one side), you must prevent it from unraveling.
When you finish the seam, cut the thread, leaving a generous tail (about 4-5 inches).
Thread the needle with this tail and pull it through the very last loop of the stitch.
Tie a strong double-knot to lock the stitch securely in place. Trim the excess thread.
Part 5: Solving Common Problems & Making it Last
To ensure your Portable Mini Sewing Stapler always performs when you need it most, here are a few simple tips:
Tips for Best Performance
| If Your Problem Is… | The Simple Fix Is… |
| Skipped Stitches | You are moving too fast! Slow down and guide the fabric smoothly. Check that the needle is tightly secured. |
| Thread Breaks | Check your thread quality (use a standard polyester thread) and make sure it’s not snagging on the spool or any thread guides. The thread tension may be too high. |
| It Won’t Stitch Through | The fabric is too thick. This machine is not designed for heavy, multi-layered materials like thick canvas or three-ply denim. Try to reduce the number of layers. |
| The Stitch Unravels | You forgot to tie the knot at the end! Always secure the final stitch with a double-knot to lock the chain stitch. |
Simple Maintenance for Longevity
Needle Care: Needles can bend or dull. Always keep a few spare needles on hand and replace them if you notice the machine struggling to penetrate the fabric.
Cleaning: Use a small, soft brush (like an old toothbrush) to gently remove any lint or stray thread pieces that collect around the needle area and the moving parts.
Storage: Store the machine in a dry, safe place away from small children. A small plastic container is ideal to keep it dust-free and ready for your next emergency fix!
Final Word: The Power of Convenience
The Handy Portable Mini Sewing Stapler Machine is more than just a gadget; it’s a fundamental shift in how you handle unexpected wardrobe mishaps. It gives you the power to mend, repair, and create in moments, not hours, right where you are. It’s the essential, modern solution for keeping your garments and cloth items in perfect condition, no matter what the day throws at you.
Add this game-changing tool to your home, travel kit, and office drawer today, and be ready for any fabric emergency!
Vendor Information
- No ratings found yet!
Manual Knife Sh...
JB Teck 20000mA...
Range Rover Gla...
Wireless Handhe...
Effortless Garl...
Onion Hair Oil ...
Product Enquiry
Related products

CHG T800 Ultra ...

Dragonfly Wind ...
Handheld Electr...
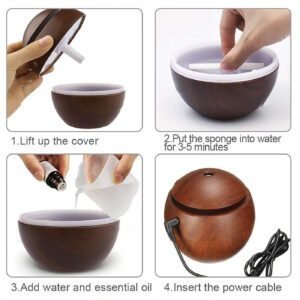
130ml USB Essen...
SEVAM Sports Ca...

Online Shopping
Free Shipping
Free Shipping apply to all orders over ₹499
Easy Returns with Simple Return Policy.
7-Day Returns if You Change Your Mind